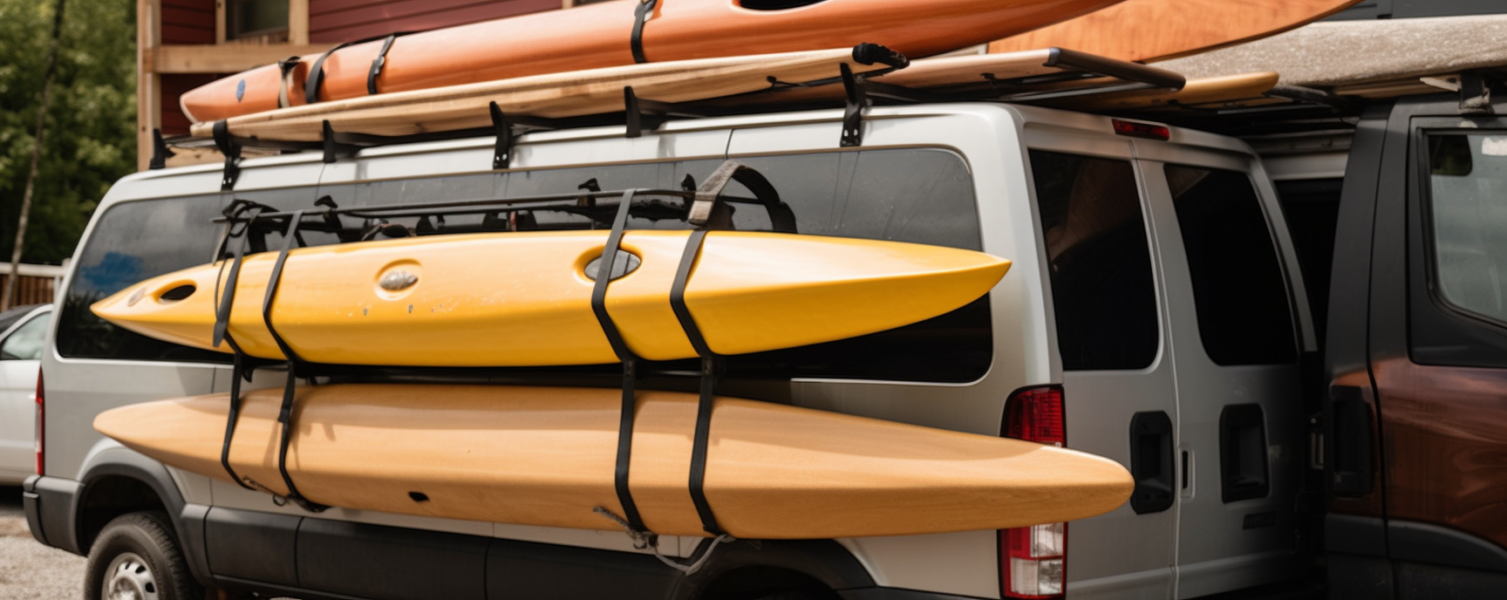
Are you a passionate kayaker or fishing enthusiast who loves hitting the open water whenever possible? If so, you probably understand the struggle of transporting your kayak to your favorite spots. While traditional roof racks are standard, they may not be suitable for RV owners due to height restrictions and limited space. But fear not! This comprehensive guide will walk you through How to Build a Kayak Rack for an RV designed explicitly for RVs. With this DIY project, you can safely and efficiently transport your kayak wherever your adventures take you.
Assessing Your Needs and Materials
Before embarking on any DIY project, assessing your specific needs and gathering all the necessary materials is crucial. Here’s what you’ll need to get started:
1. Determine Your Kayak Size
The first step is to determine the size of your kayak. The dimensions of different kayak models can vary significantly, so measure your kayak’s length, width, and height accurately.
2. Research Suitable Racks and Mounting Options
To build a practical kayak rack for your RV, it’s essential to research suitable frames and mounting options that best fit your needs. Consider factors such as stability, ease of installation, weight capacity, and compatibility with your RV model.
3. Gather Materials
Now that you have determined the appropriate rack system for your RV and kayak, it’s time to gather the necessary materials:
- Sturdy metal tubing or PVC pipes for constructing the frame.
- Metal brackets or T-joints to connect the tubing/pipe sections.
- Bolts, screws, washers, and nuts for secure fastening.
- Foam padding or pool noodles to protect your kayak from scratches during transportation.
- Straps or bungee cords to secure the kayak in place.
Designing and Building the Kayak Rack

With your materials in hand, it’s time to design and build the kayak rack for your RV. Follow these steps:
1. Measure and Cut the Tubing/PVC Pipes
Using the measurements of your kayak, mark the tubing or PVC pipes accordingly. Ensure that you have enough length to accommodate your kayak comfortably.
2. Assemble the Frame
Connect the tubing or PVC pipes to create a sturdy frame using metal brackets or T-joints. Double-check all connections to ensure stability and durability.
3. Attach the Frame to Your RV
Determine the ideal location for mounting the kayak rack on your RV’s exterior. It should be easily accessible yet not obstruct any vital components. Use strong bolts, screws, washers, and nuts to attach the frame to your RV securely.
4. Add Padding for Protection
To prevent any damage to your kayak during transportation, attach foam padding or pool noodles along the rack’s contact points using zip ties or adhesive tape.
5. Test for Stability
Before hitting the road, give your newly built kayak rack a thorough stability test by gently shaking it from various angles. Make any necessary adjustments or reinforcements to ensure maximum security during transit.
Tips for Safe Transportation

Now that you have successfully built your custom kayak rack for your RV, keep these tips in mind for safe transportation:
- Always double-check that your kayak is securely fastened before setting off on a journey.
- Use high-quality straps or bungee cords to firmly secure your kayak onto the rack.
- Regularly inspect all components of your rack system for signs of wear and tear.
- Be mindful of height restrictions when passing under bridges or entering parking garages.
- Drive cautiously and avoid sudden maneuvers that could affect the stability of your loaded kayak.
Enhance Your Kayaking Adventures with an RV-Specific Rack
With your newly built kayak rack for your RV, you can now embark on unforgettable kayaking adventures with ease. By customizing a rack system to suit your specific needs, you ensure your beloved kayak’s safe and secure transportation. Remember to always prioritize safety by regularly inspecting and maintaining your rack system. Check out our guide on the best kayak fishing accessories of 2023. Now it’s time to hit the road, explore scenic waterways, and create lasting memories in the great outdoors!


